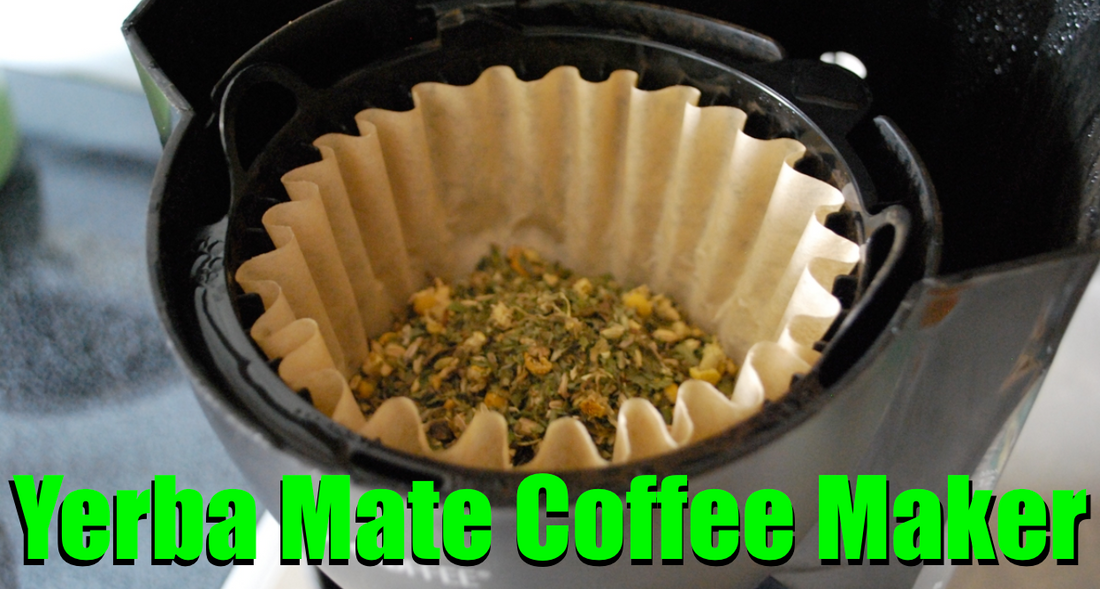
If you want to know how to make yerba mate in a coffee maker, I’m going to walk you through each step in this post. And if you already have everything you need, you can start drinking it by the time you finish reading.
Are you ready to start?
What You Need To Make Yerba Mate In A Coffee Maker
To make yerba mate in a coffee maker, you’ll need two obvious things:
- Yerba mate
- And a coffee maker
Today I’ll be using a brand I’ve been drinking a lot of lately – Playadito (Review).
I chose this brand not only for its delicious sweet taste, but also for its high leaf/low dust content. Why? Because if there’s a lot of dust, it can get through the filter. And I don’t want any particles to get in the tea.
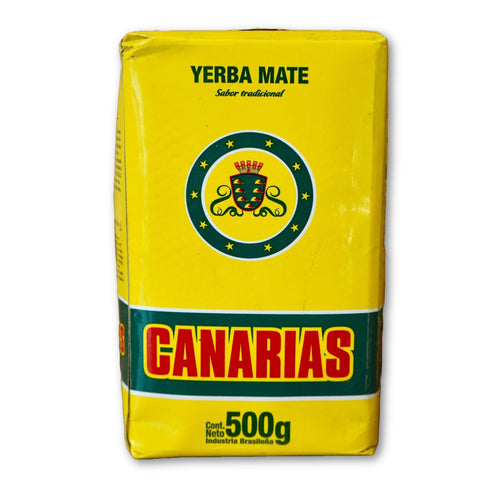
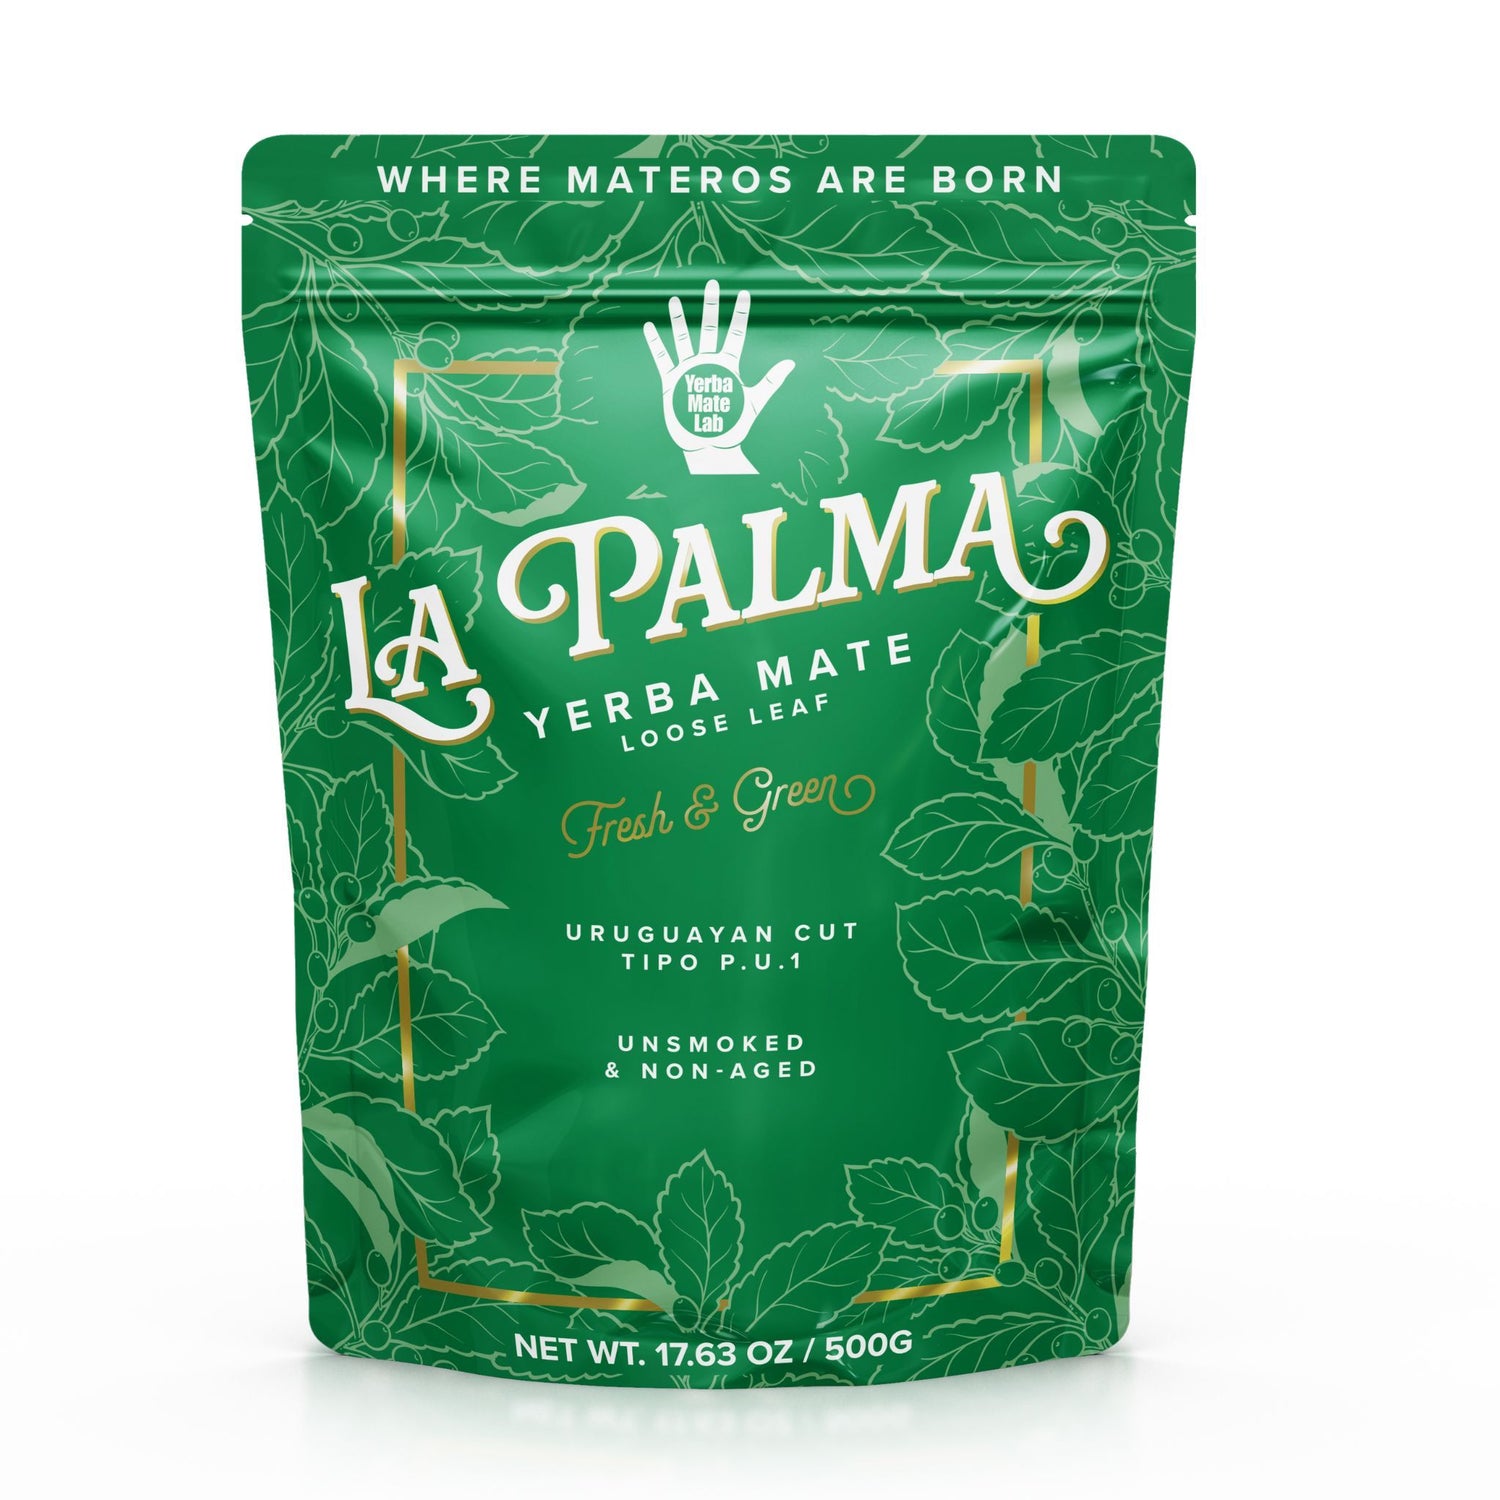
Ideally, you want a yerba mate that’s sin palo or despalada (without stems) as these contain 99% leaves. You can try using traditional blends if you’d like, but they might not strain well.
Two good brands to use are Taragui Sin Palo (Review) and Guayaki San Mateo.
Next, you’ll need a coffee maker.
You don’t need anything fancy. As long as it gets the job done.
The coffee maker I used is by BELLA. Of course, it’s always best if you can use higher-quality ones though like Cuisinart.
Now that you have everything you need, it’s time to brew your yerba mate in the coffee maker.
How To Make Yerba Mate In A Coffee Maker
Step 1:
Power on your coffee maker and pour water in the water reservoir. Fill however many cups of mate you want to brew.
Step 2:
Pour 1 tablespoon of yerba mate in the filter for every 8 ounces (1 cup). If you like your mate stronger, put more; weaker, put less.
Step 3 (OPTIONAL):
Pour room temperature water directly over the yerba in the filter until saturated. This is supposed to help protect the nutrients and flavor, by preventing the dry yerba from being burned by the hot water.
Step 4:
After waiting a minute or two for the yerba to soak, start brewing.
Step 5:
Once finished, pour yourself a fresh glass of yerba mate and enjoy! Pour the rest inside a thermos to keep it hot.
Gourd & Bombilla VS Coffee Maker Yerba Mate
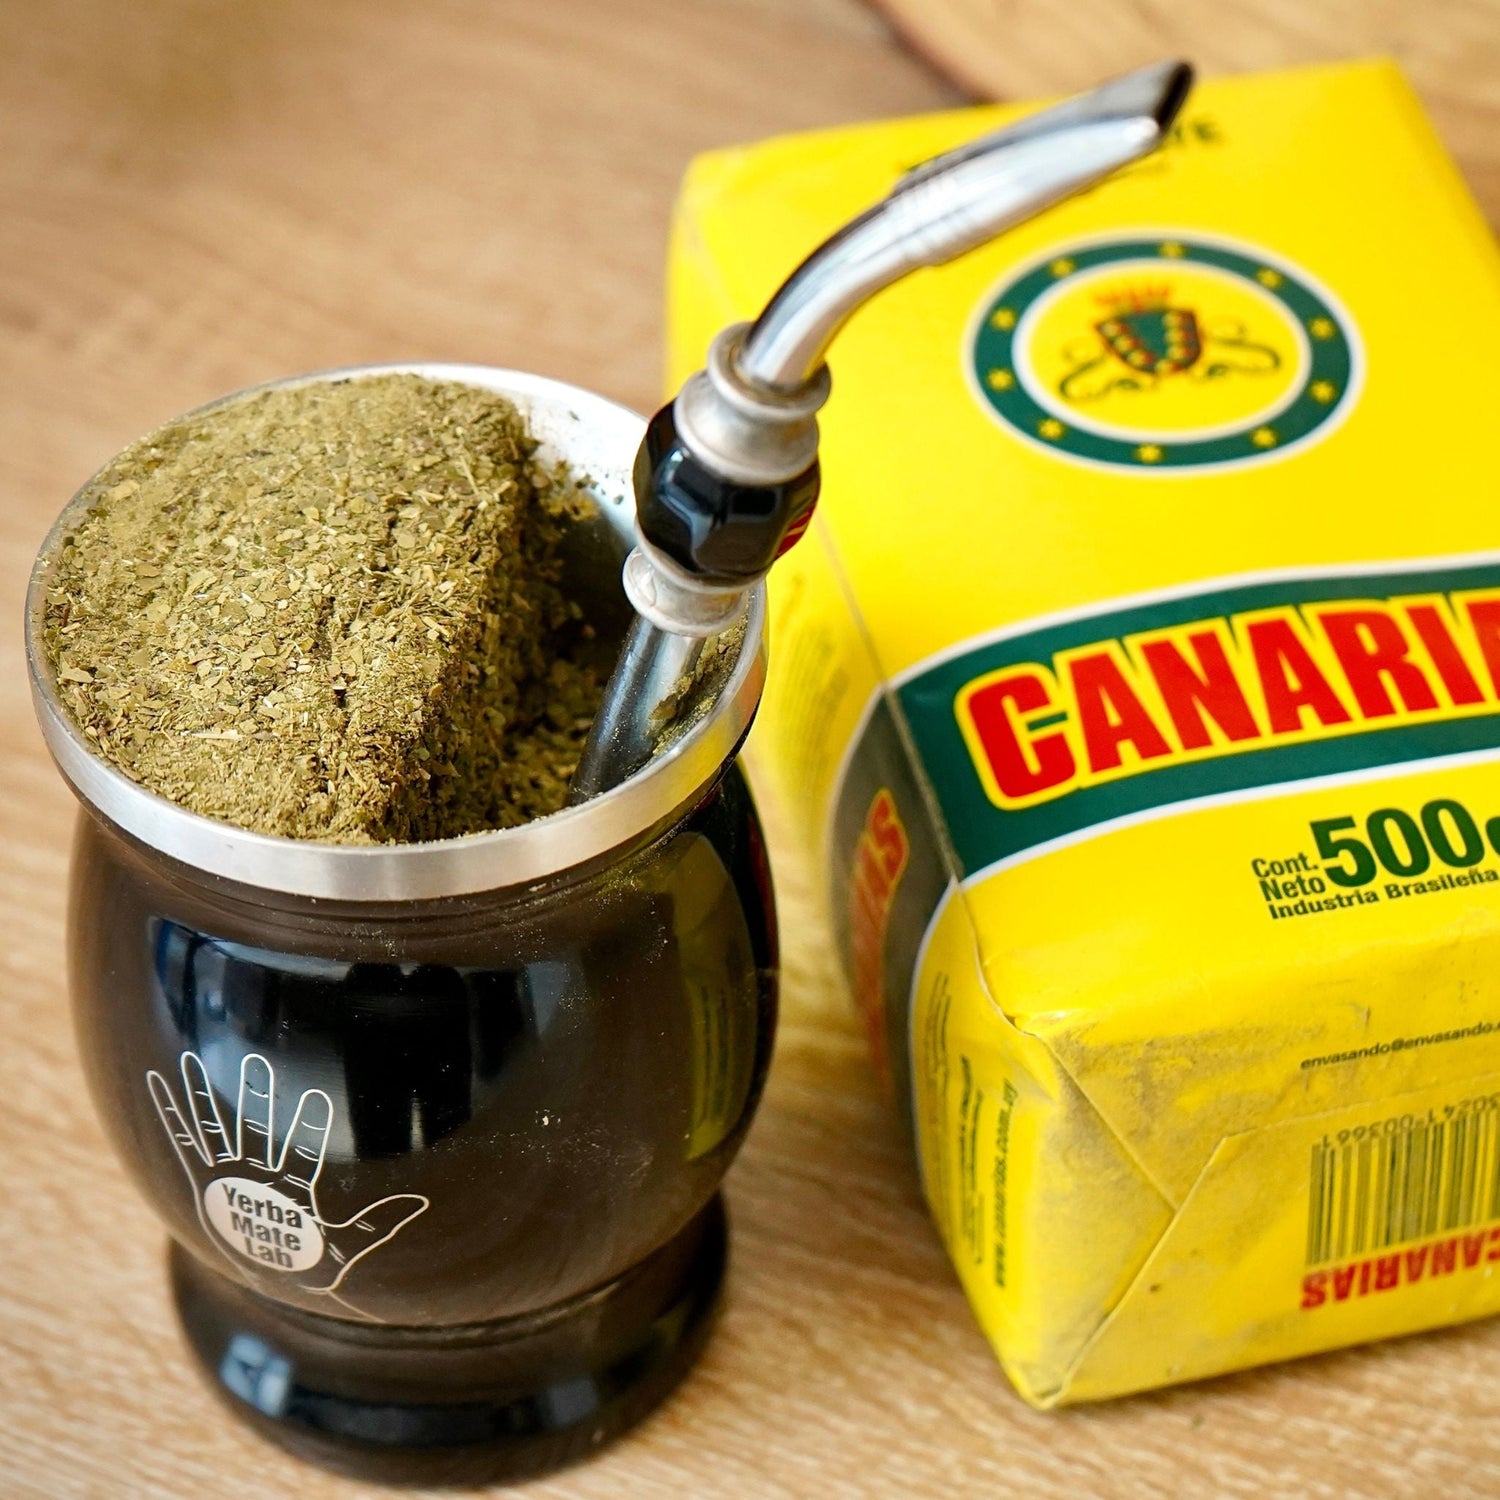
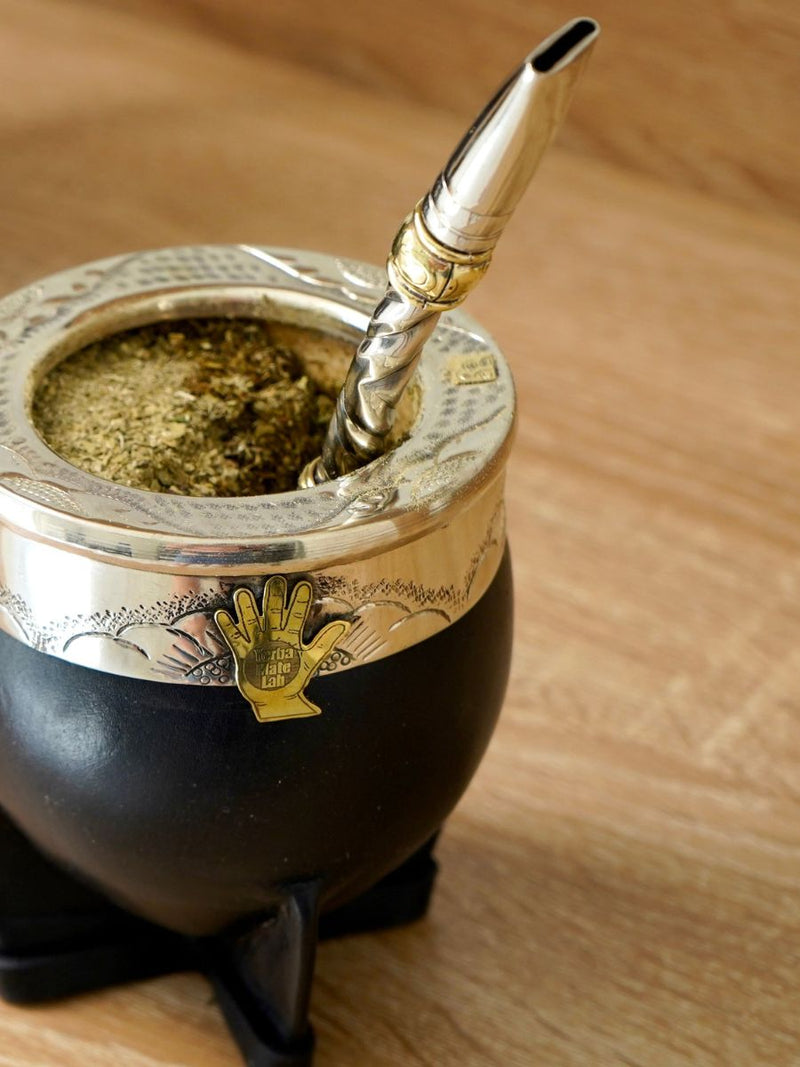
By now you’re probably wondering whether drinking yerba mate with a coffee maker is better than drinking yerba mate the traditional way – with a gourd and bombilla.
Well they both have their pros and cons.
Although I always recommend people to stick with tradition, using a coffee maker for yerba mate has its purpose.
One is convenience.
Most people who want to try yerba mate usually have a coffee maker already. This lets them save time and money by not having to buy a gourd and bombilla. But not only that, a coffee maker also lets you brew yerba mate in bulk.
With it, you can easily prepare 10+ cups of mate at a time to last you the entire day.
Whereas with a gourd and bombilla, you have to drink one mate (refill) at a time. And when finished, you’ll have to clean up and wait for your gourd to dry in order to use it again. That is, unless you have a ceramic, silicone, glass, or steel gourd, you don’t have to wait for them to dry.
Now it might seem like making yerba mate in a coffee maker is the better option.
But that’s where people go wrong.
Drinking yerba mate from a gourd completely changes everything.
It takes time, attention, care, and patience. It’s therapeutic. Relaxing. Meditative. And unlike anything you’ll come across.
It’s a visceral experience you’ll only know when you try it.
How Does Yerba Mate Taste In A Coffee Maker?
Drinking yerba mate with a gourd and bombilla also tastes different than with a coffee maker.
With a coffee maker, the flavor is dull.
There’s something missing in it.
I assume it’s the strength and boldness.
When drinking Playadito from a gourd and bombilla, the taste is powerful and more pronounced. This is likely because of the high yerba to water ratio.
Now you’re probably thinking, to get the same strong flavor with a coffee maker, just use more yerba.
And yes, you can do that.
But you still won’t get the same taste and full flavor profile you experience with a gourd.
Because think about it…
When you drink yerba with a gourd, you’re constantly refilling. So the first gourd won’t taste the same as the second refill. And the second refill won’t taste the same as the third refill. So on and so forth.
And this is because the leaves get weaker and weaker after each steep/refill.
But when you’re using a coffee maker, what used to be separate gourd refills is now all collected in the same pot. Making every cup of mate you pour taste the exact same. There’s no more nuance in flavor.
Final Words
You now know how to make yerba mate in a coffee maker. It’s the same steps as if you were to brew coffee.
But remember, it’s not the same as drinking yerba from a gourd.
A coffee maker is great in that it’s fast, efficient, and can brew yerba mate in bulk. But it’ll never give you the same flavor or experience as drinking it the traditional way.
I only use a coffee maker when I’m short on time. Never for its taste.
A gourd and bombilla will always be my preference.
P.S. If you want to start drinking yerba mate from a gourd and bombilla, click here now to get everything you need from our shop.
P.P.S. You might also be interested in learning how to prepare yerba mate in a french press and tea pot.
